

Learn how long to cook chicken breast in oven with this complete guide. Get exact cooking times, tips for juicy, tender chicken, and methods like foil-wrapped or open baking for perfect results every time.
Oven cooking chicken breasts can be challenging. Getting it right is a challenge for many home cooks. Your chicken may contain dangerous bacteria like Salmonella if it is undercooked, rendering it unfit for consumption. However, if you cook it for too long, it will quickly become tough, dry, and flavorless, which will ruin your meal.
Knowing the proper oven temperature, cooking time, and preparation techniques is therefore essential. You can reliably enjoy juicy, tender chicken breast right out of the oven if you follow the proper methods. Knowing how to cook chicken breast in the oven guarantees that your meals are tasty, safe, and nutritious, whether you’re meal planning for the week or making a weeknight supper.
1 Preparation Before Baking
Preparing your chicken breast properly before putting it in the oven is essential for a juicy and flavorful result. Skipping these steps can lead to uneven cooking or dry meat, even if you follow the correct cooking time.
Step 1: Preheat your oven
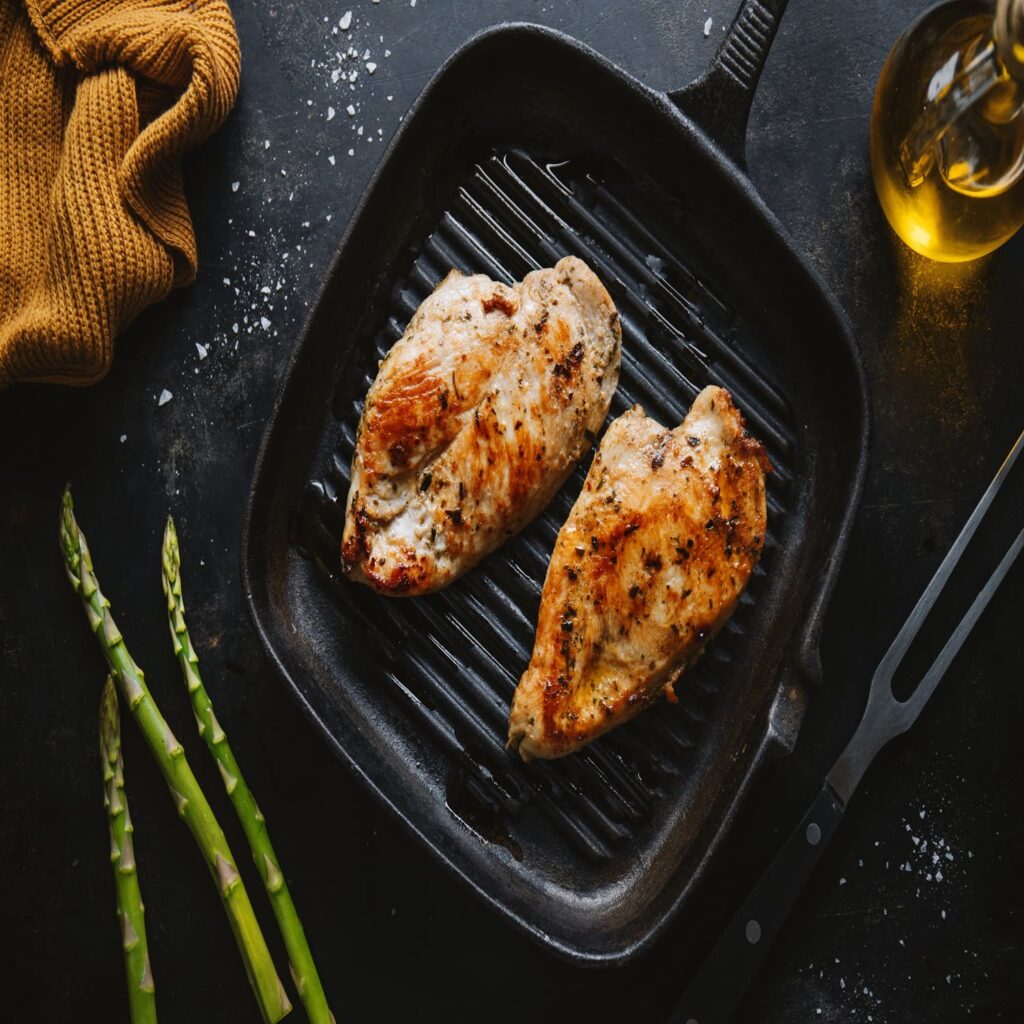
Always preheat your oven to 375°F (190°C). This ensures that the chicken starts cooking immediately at the right temperature, giving you an evenly cooked, tender oven baked chicken breast. Preheating also prevents the meat from sticking to the pan and helps lock in juices.
Step 2: Trim excess fat and remove skin
If your chicken breast has extra fat or skin, consider trimming it for a leaner and healthier dish. Removing the skin can reduce calories, but keep in mind that skin-on chicken retains slightly more moisture during baking. Decide based on your preference and dietary needs.
Step 3: Season or marinate for flavor
Season your chicken breast generously with salt, pepper, and your favorite herbs like rosemary, thyme, or paprika. For even more flavor and juiciness, try marinating the chicken for 30 minutes to 2 hours in a mixture of olive oil, lemon juice, garlic, and herbs. This not only enhances taste but also helps the meat stay tender while baking.
Step 4: Use a meat thermometer
To guarantee perfectly cooked chicken, use a meat thermometer. Insert it into the thickest part of the breast—the chicken is safe to eat when it reaches 165°F (74°C). This is the most reliable way to prevent overcooked, dry chicken and ensures your meal is safe and delicious.
2 How Long to Cook Chicken Breast in the Oven (Perfect Timing Guide)

The secret to consistently getting juicy, flavorful, and tender chicken breast is knowing how long to cook it in the oven. Your chicken breast’s thickness, weight, and size all affect how long it should cook. If you cook it for too long, it becomes tough and dry, and if you cook it for too little, the inside is undercooked.
Use the oven temperatures and cooking times listed below to ensure that your chicken breasts are baked to perfection:
| Weight / Thickness | Oven Temperature | Cooking Time |
| 4 oz (113 g) thin breast | 375°F (190°C) | 20–25 minutes |
| 6 oz (170 g) medium breast | 375°F (190°C) | 25–30 minutes |
| 8 oz (227 g) thick breast | 375°F (190°C) | 30–35 minutes |
3 Baking Methods: Foil vs. Open Baking
The cooking technique you use when baking chicken breast in the oven can significantly alter the texture and flavor of the finished product. While some people prefer open baking to achieve that roasted, golden-brown finish, others prefer foil-wrapped chicken for a tender, juicy result. You can choose the best strategy for your intended result by being aware of how each technique operates.
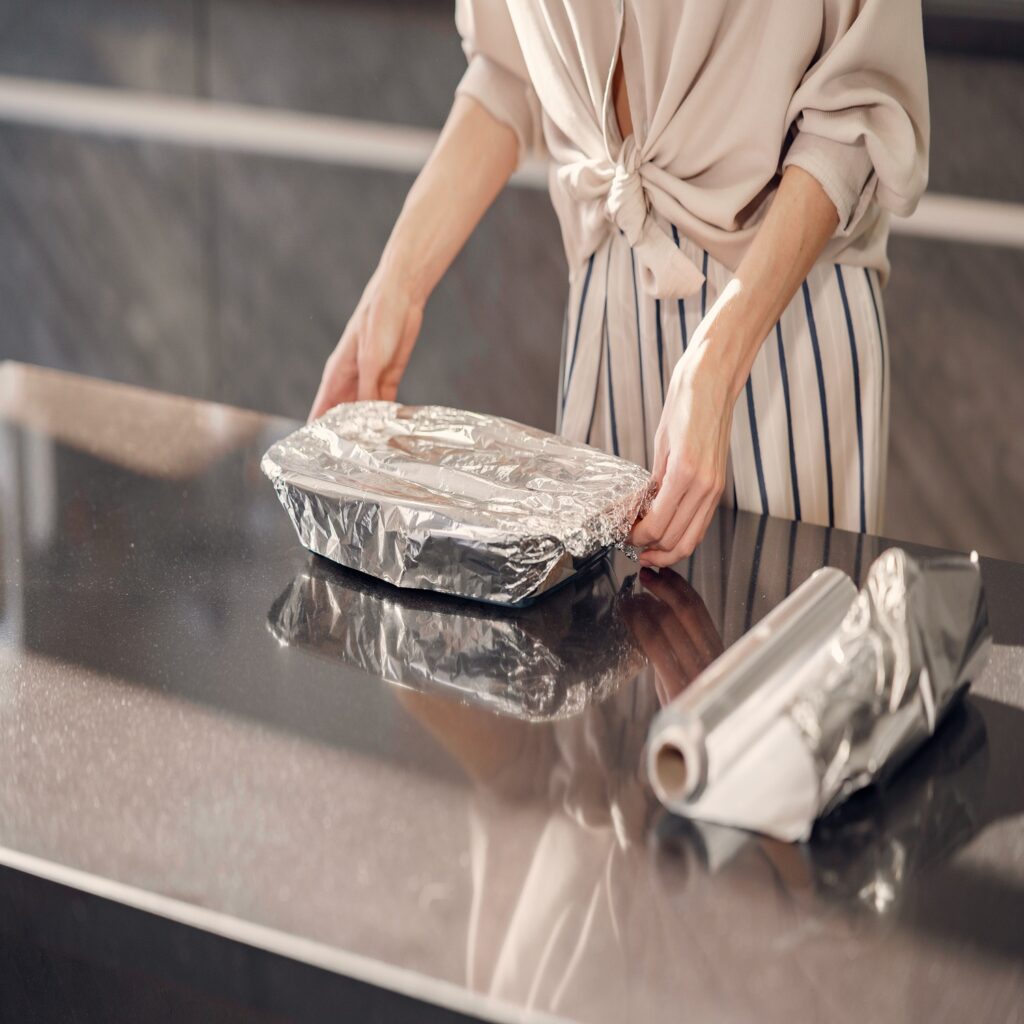
Foil-Wrapped Baking (Moist and Juicy Chicken)
Cooking chicken breast in foil is one of the best ways to lock in moisture and flavor. By wrapping your chicken in foil before placing it in the oven, you create a mini steam chamber that keeps the meat tender and prevents it from drying out.
Benefits of Foil-Wrapped Chicken:
- 🧈 Retains moisture: The trapped steam keeps the chicken juicy and soft, even if it cooks a few minutes longer.
- 🍗 Even cooking: Perfect for baking multiple pieces at once without worrying about dry edges.
- 🍋 Infused flavors: Add lemon slices, garlic, or herbs inside the foil packet to let the flavors soak into the meat.
- 🥗 Ideal for meal prep: The foil helps preserve freshness, making it perfect for preparing chicken in advance for salads or weekly lunches.
How to Check If Your Chicken Is Done (The Ultimate Guide)
Knowing when a chicken breast is cooked to perfection is one of the most crucial aspects of baking it. While overcooked chicken becomes tough and dry, undercooked chicken may be dangerous to consume. You must properly check the chicken’s doneness if you want it to be juicy, tender, and safe.
For precise results, use a meat thermometer.
A meat thermometer is the most accurate and dependable tool for determining when your chicken breast is done. Just place the thermometer in the thickest area of the chicken breast, avoiding contact with any bones as this may result in an inaccurate reading.
How to Tell If Chicken Is Done Without a Thermometer
Don’t worry if you don’t have a meat thermometer; there are still a few trustworthy methods to determine when your chicken is done baking.
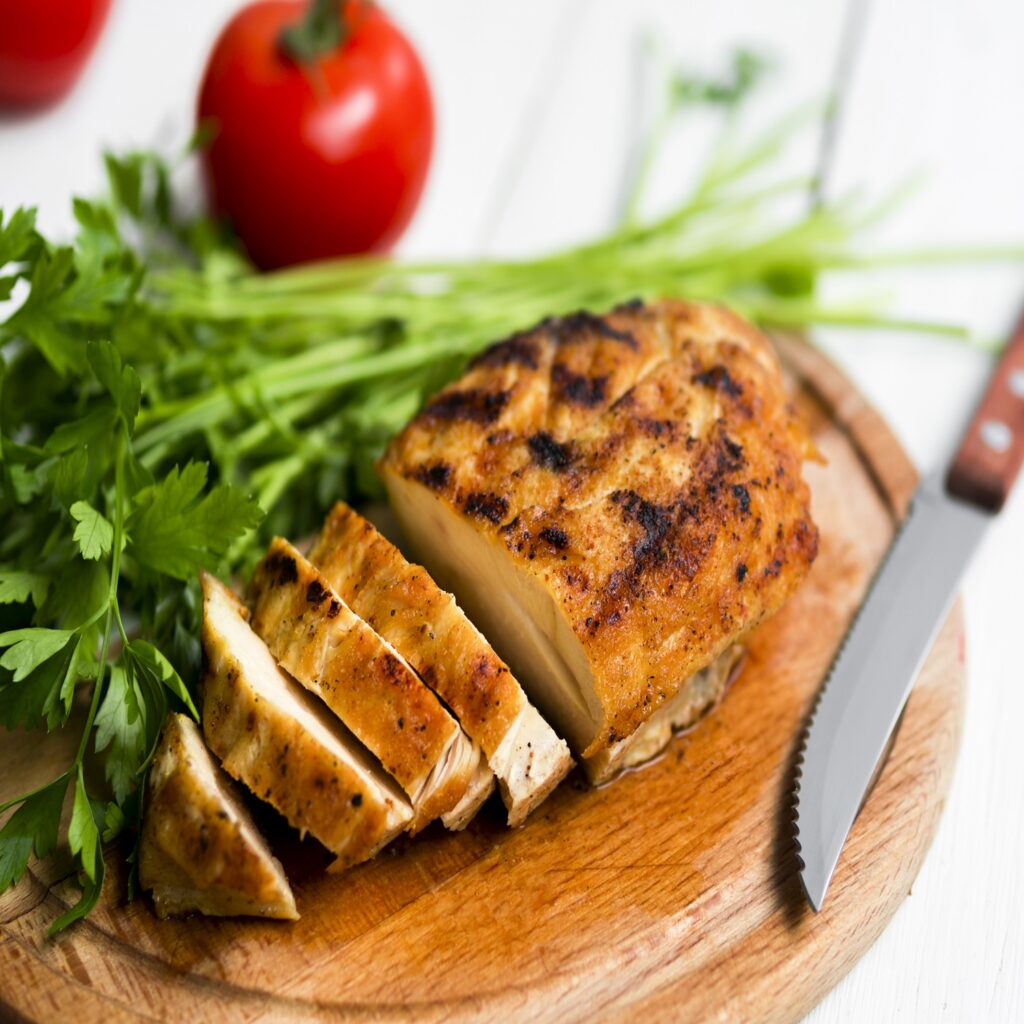
1 Slice into the thickest area: Make a cut in the middle of the chicken breast with a knife.
Instead of being pink or hazy, the juices should flow clear.
There should be no areas of the meat that appear raw or translucent; it should be entirely white.
2. Examine the texture: When pressed with a fork or tongs, a fully cooked chicken breast feels firm but springy. It probably needs a few more minutes in the oven if it feels extremely soft or rubbery.
3 Check the color: If baked uncovered, the surface should be golden brown; if baked in foil, it should be pale white and moist. Spots that are shiny or pink suggest that it’s not finished yet.
Once your chicken breast is perfectly cooked and juicy, the next step is to shred or store it properly for your meals. To make this process effortless, try using the Freshiova Chicken Shredder . This handy kitchen tool helps you shred cooked chicken in seconds and keep it neatly stored for salads, sandwiches, or meal prep. It’s a must-have gadget if you love cooking and want to save time while keeping your food fresh and organized.
For perfectly cooked chicken breast, I highly recommend this recipe from RecipeTin Eats. It provides a simple, quick method to achieve tender, juicy chicken with a flavorful crust. The recipe uses a blend of brown sugar, paprika, oregano, and garlic powder, ensuring juicy meat and a slightly caramelized surface — perfect for meal prep or a quick dinner.